Update your club website with Website Studio
This post is part of our Curling IO v3 sneak peek series, where we explore some of the new features available in the upcoming version.
If your club uses a content management system (CMS), this might sound familiar. A staff member or volunteer sets up the website, but when they leave, no one else knows how to update it. Updates get put off, and old information stays online.
We built Website Studio to make it as easy as possible for club staff to keep their website up to date. Your website lives in Curling IO alongside your club’s programs, events, and registration. You don’t need to manage a complicated third-party website, like WordPress, or pay another provider just for website hosting.
Registration opens, a new program needs a prominent link, and the welcome message could use a rewrite. Website Studio gives you a preview of your site and an AI assistant to help make those changes.
Describe what you want to change and check the result in your preview before publishing. If you prefer an earlier design, you can easily restore it.
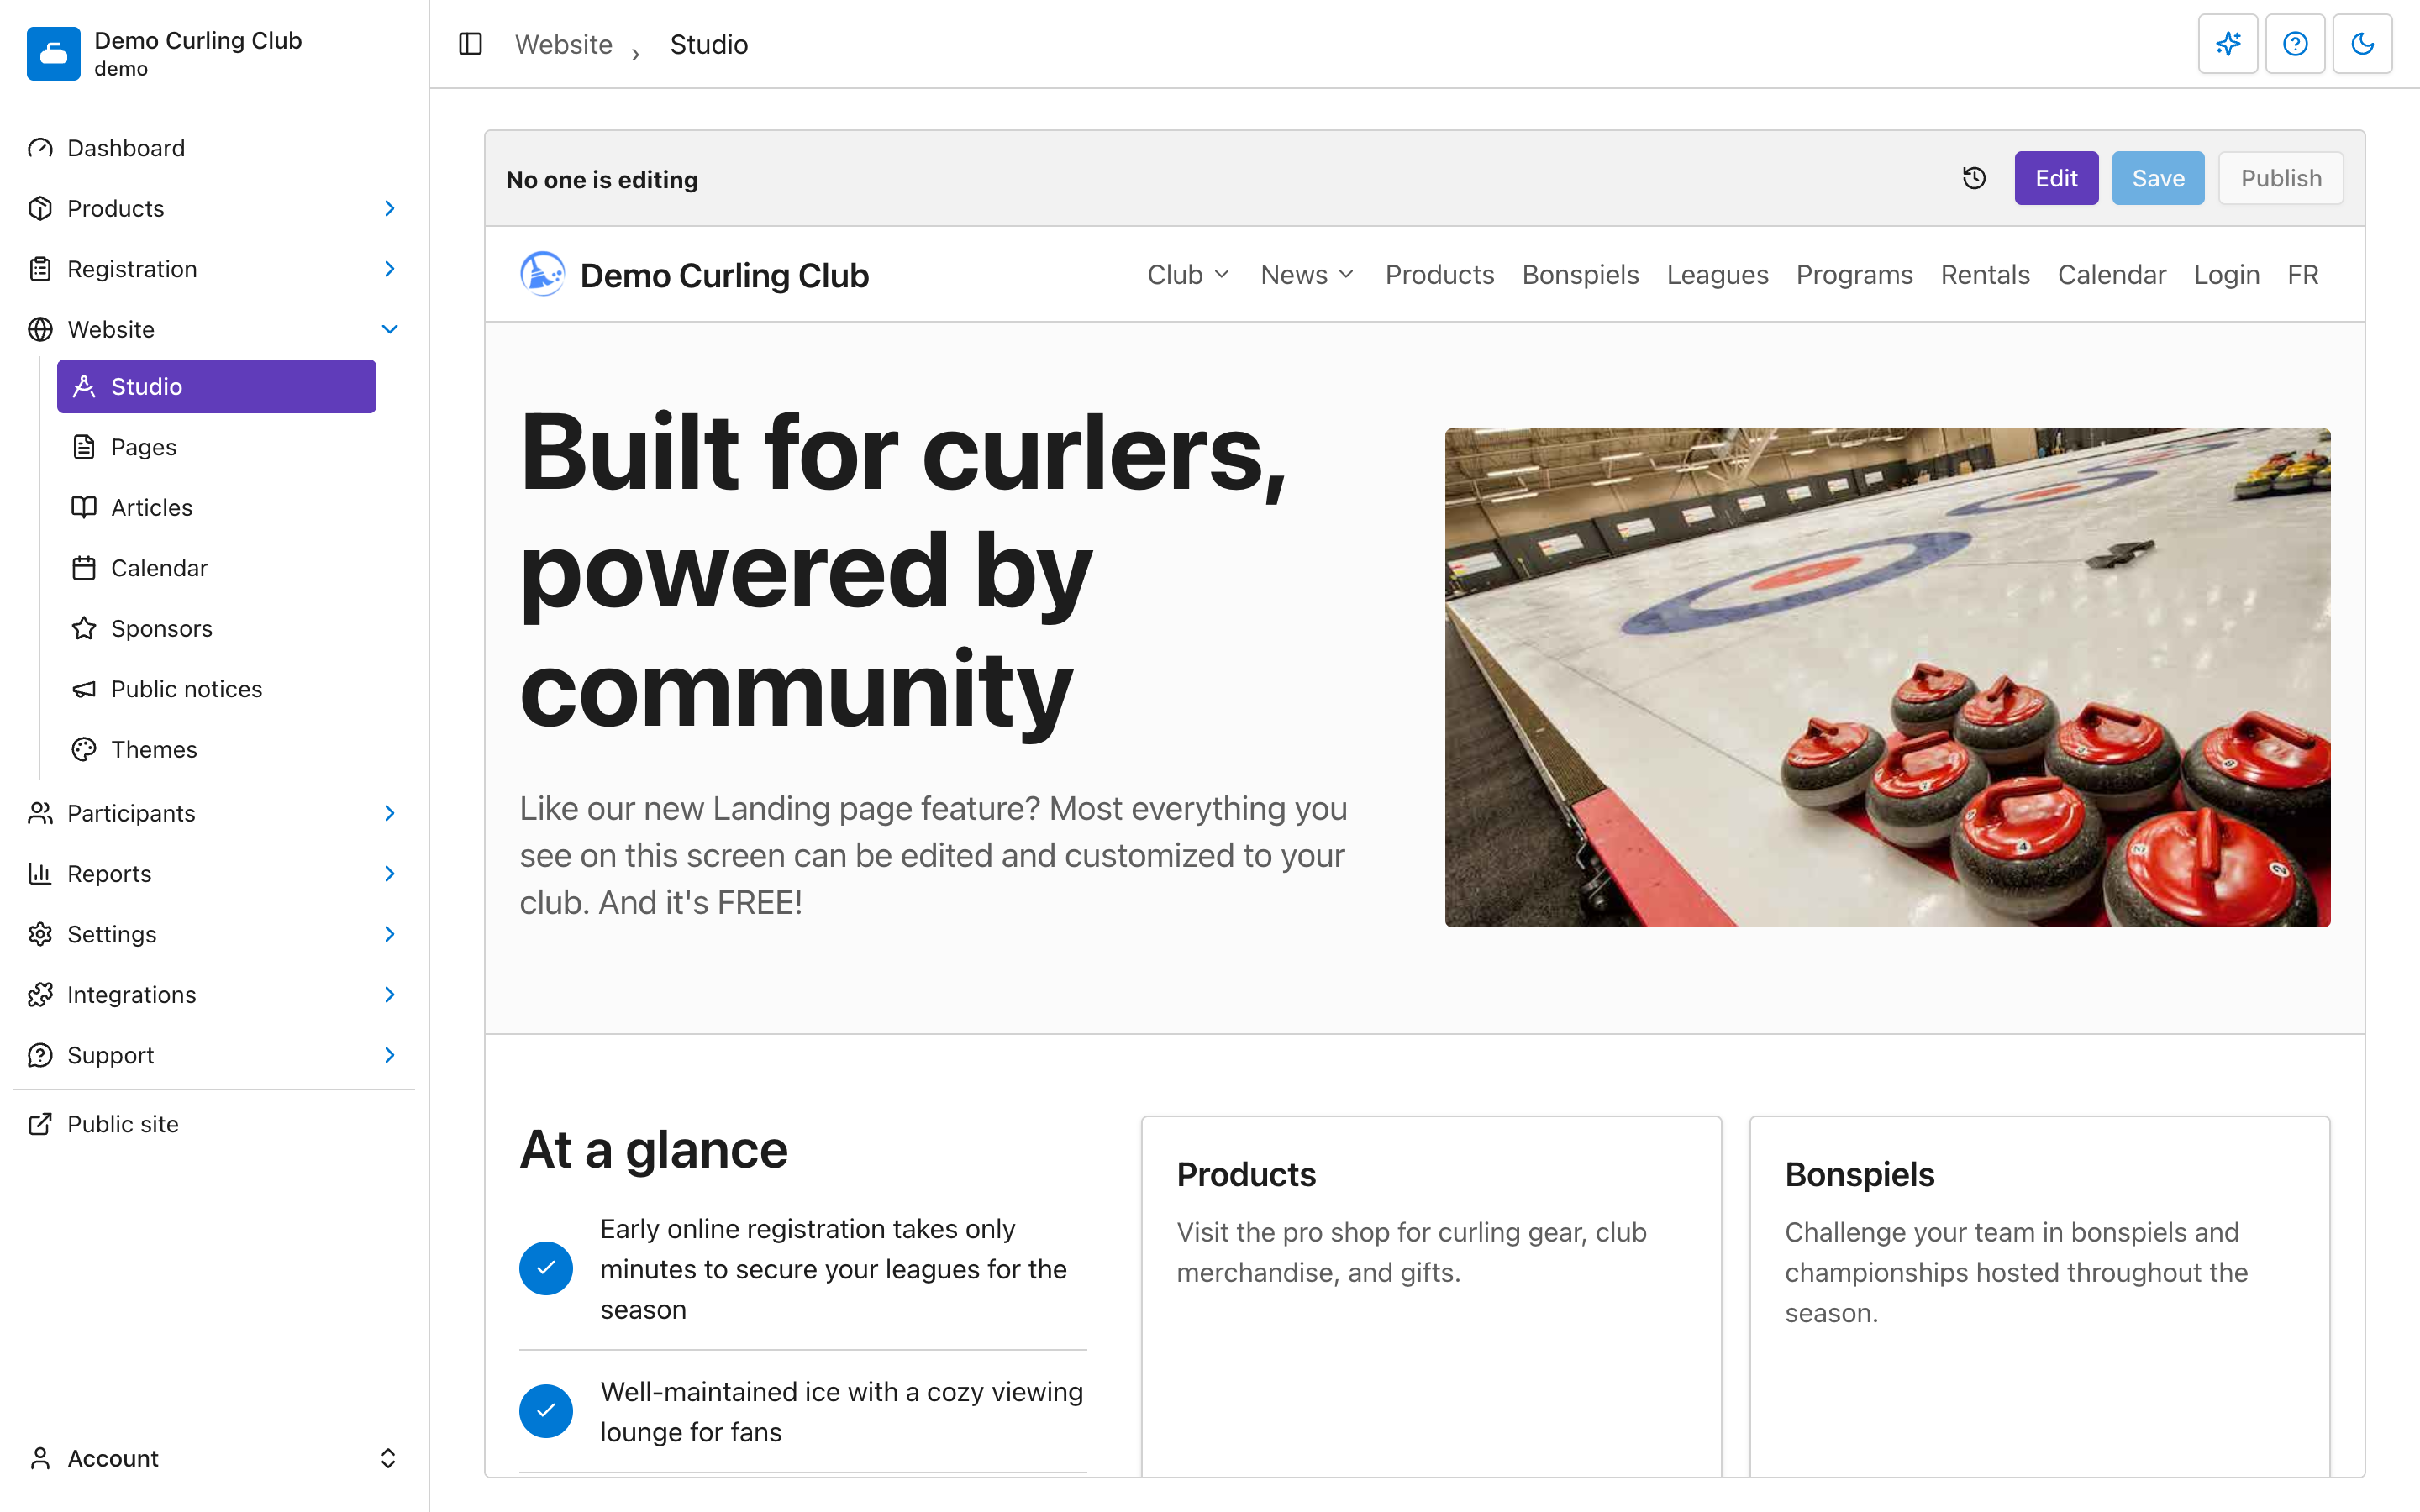
Curling IO’s built-in AI assistant
The simplest way to make a change is to ask the assistant built into Curling IO. Open Website > Studio, select Edit, then Have AI do it. You can work right there beside your website preview, without editing the website settings yourself.
Tell it what you'd like to change. For example:
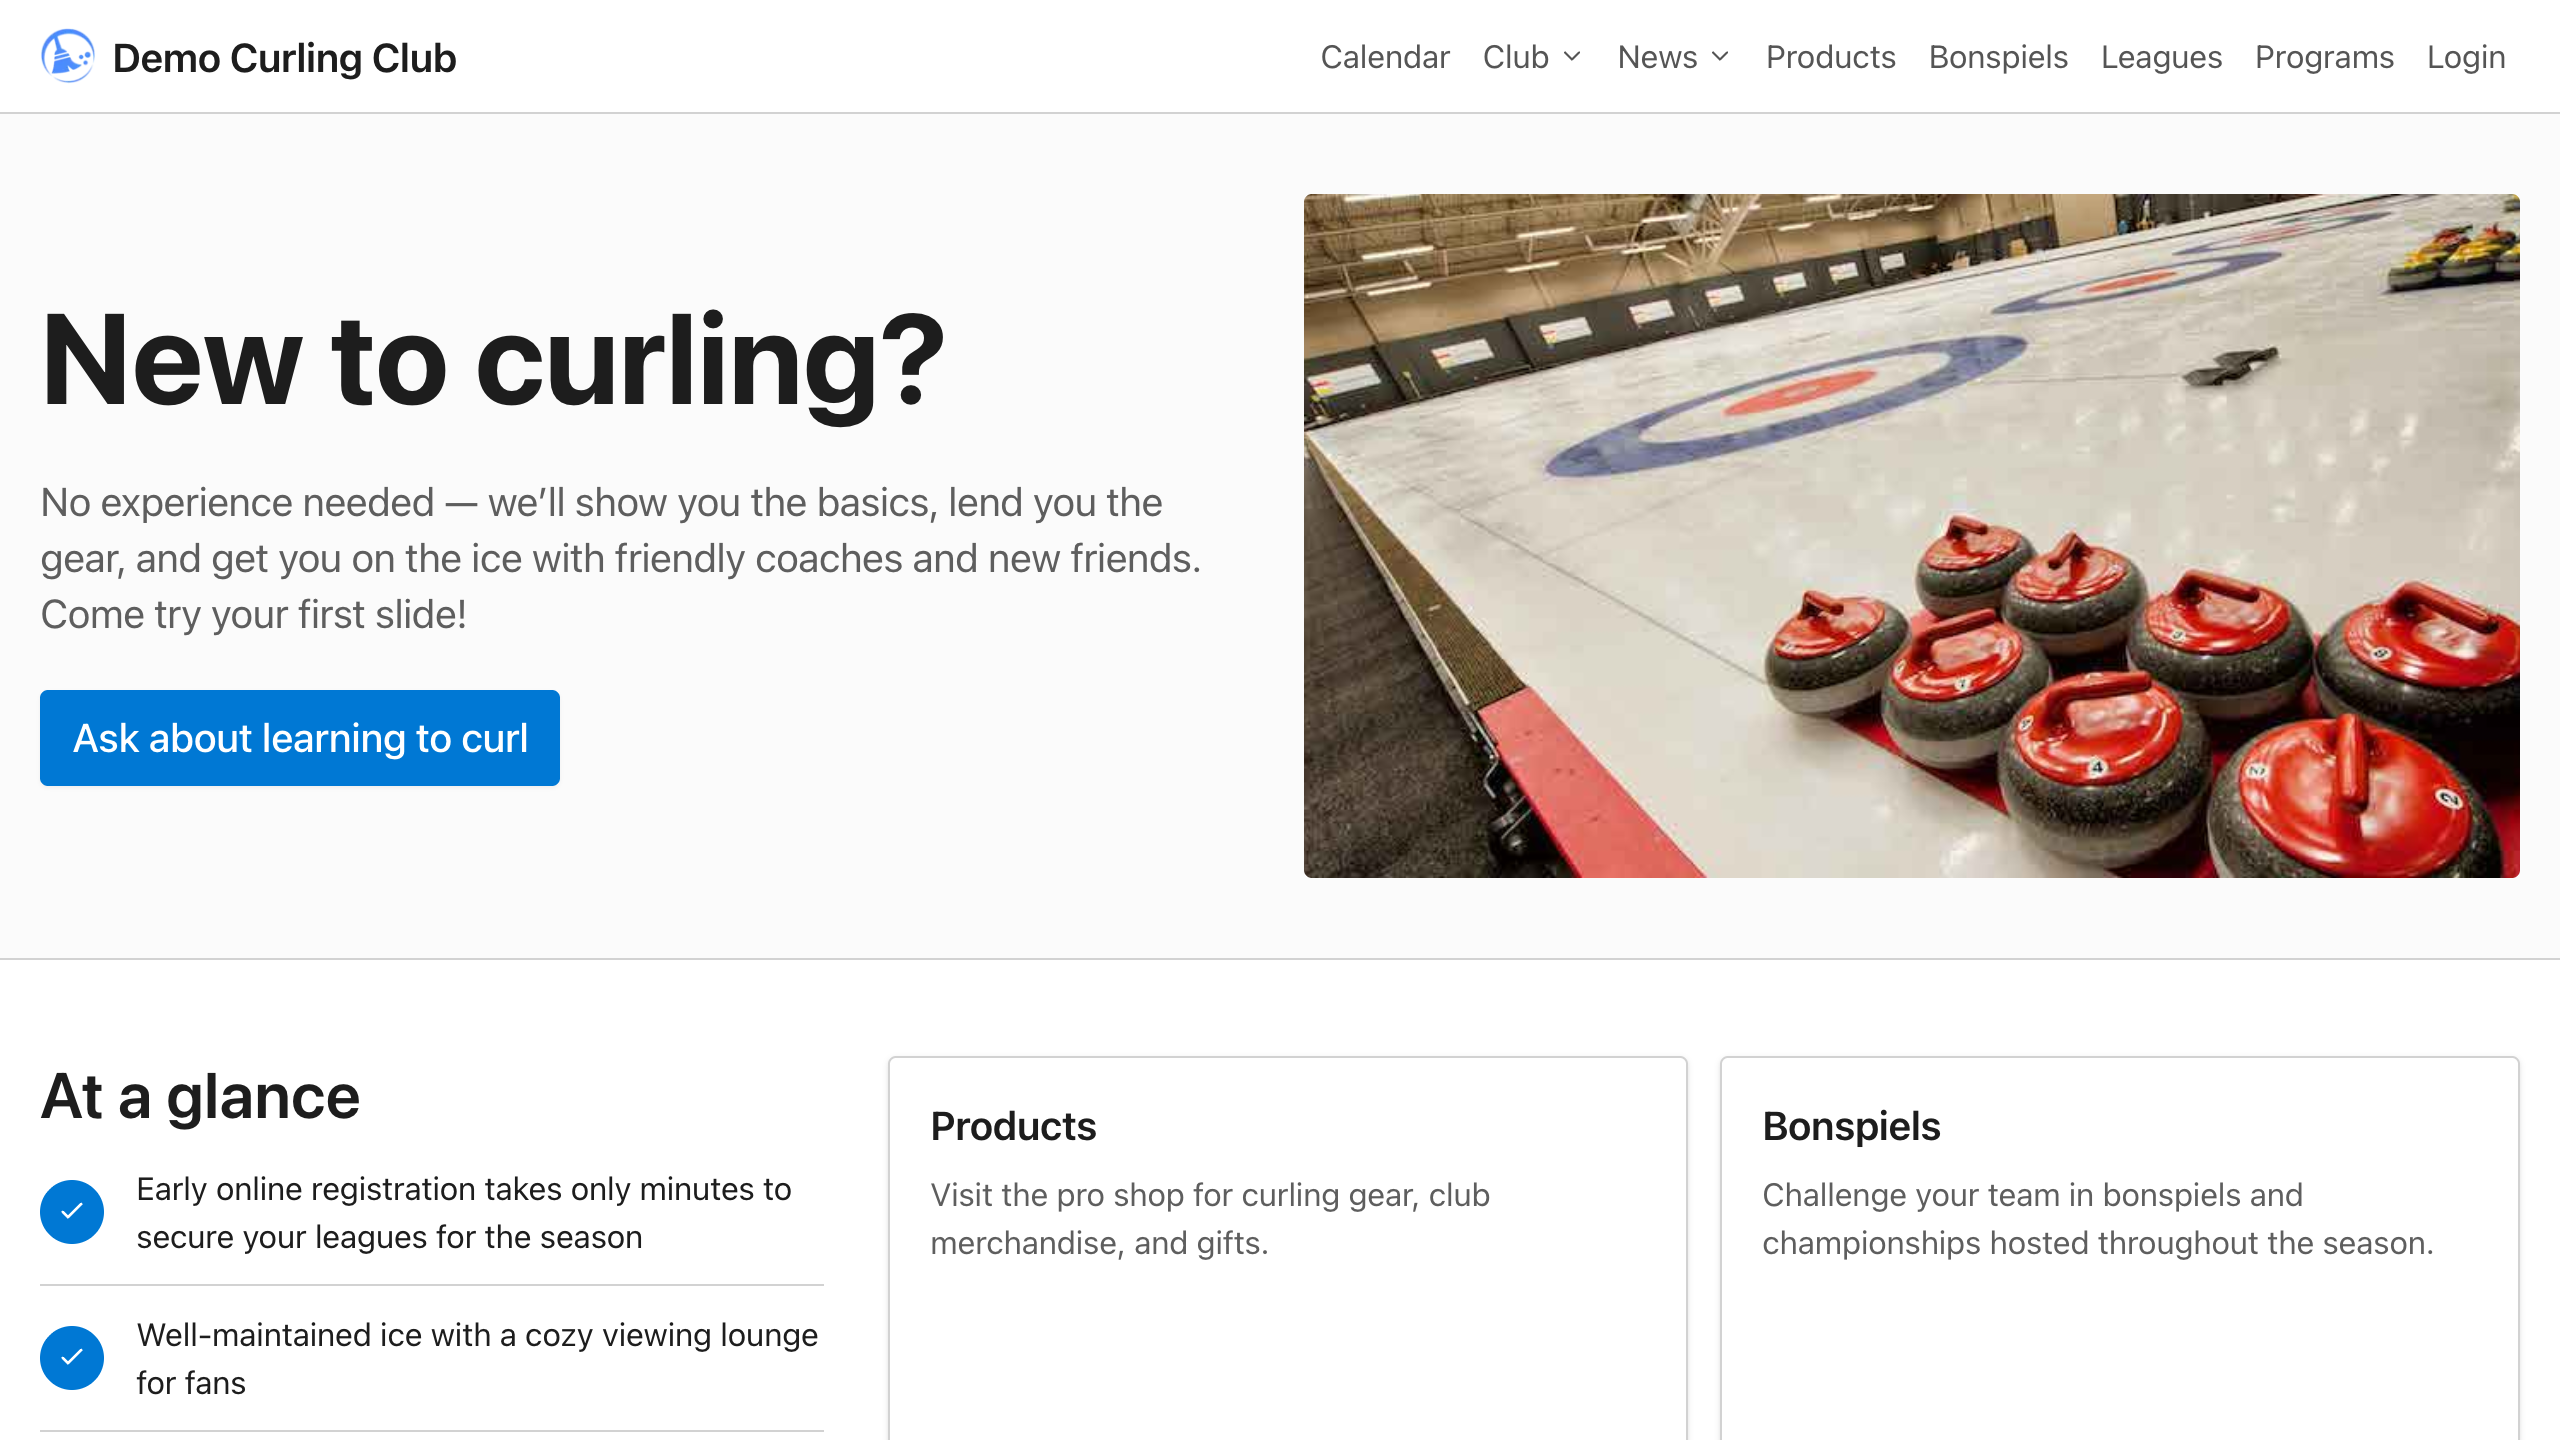
Make our homepage more welcoming to new curlers. Write a short introduction and add an Ask about learning to curl button that links to our contact page.
The assistant makes the change in your preview so you can see the result right away. Select Accept to save it, or Decline to return to your previous draft. Declining removes the discarded change without adding it to your website history. Your public website stays unchanged until you select Publish.
Be specific about the result you want. Tell it which page or section to change, supply the facts it needs, and name anything you want to keep. If a program starts on a particular date, give it that date. Read the proposed copy before accepting it, especially names, dates, and claims about your club.
You can also give the assistant images. Add Website image uploads an image for use on your site. Add context image supplies a visual reference for the conversation. A reference image does not become a website image just because you attached it.
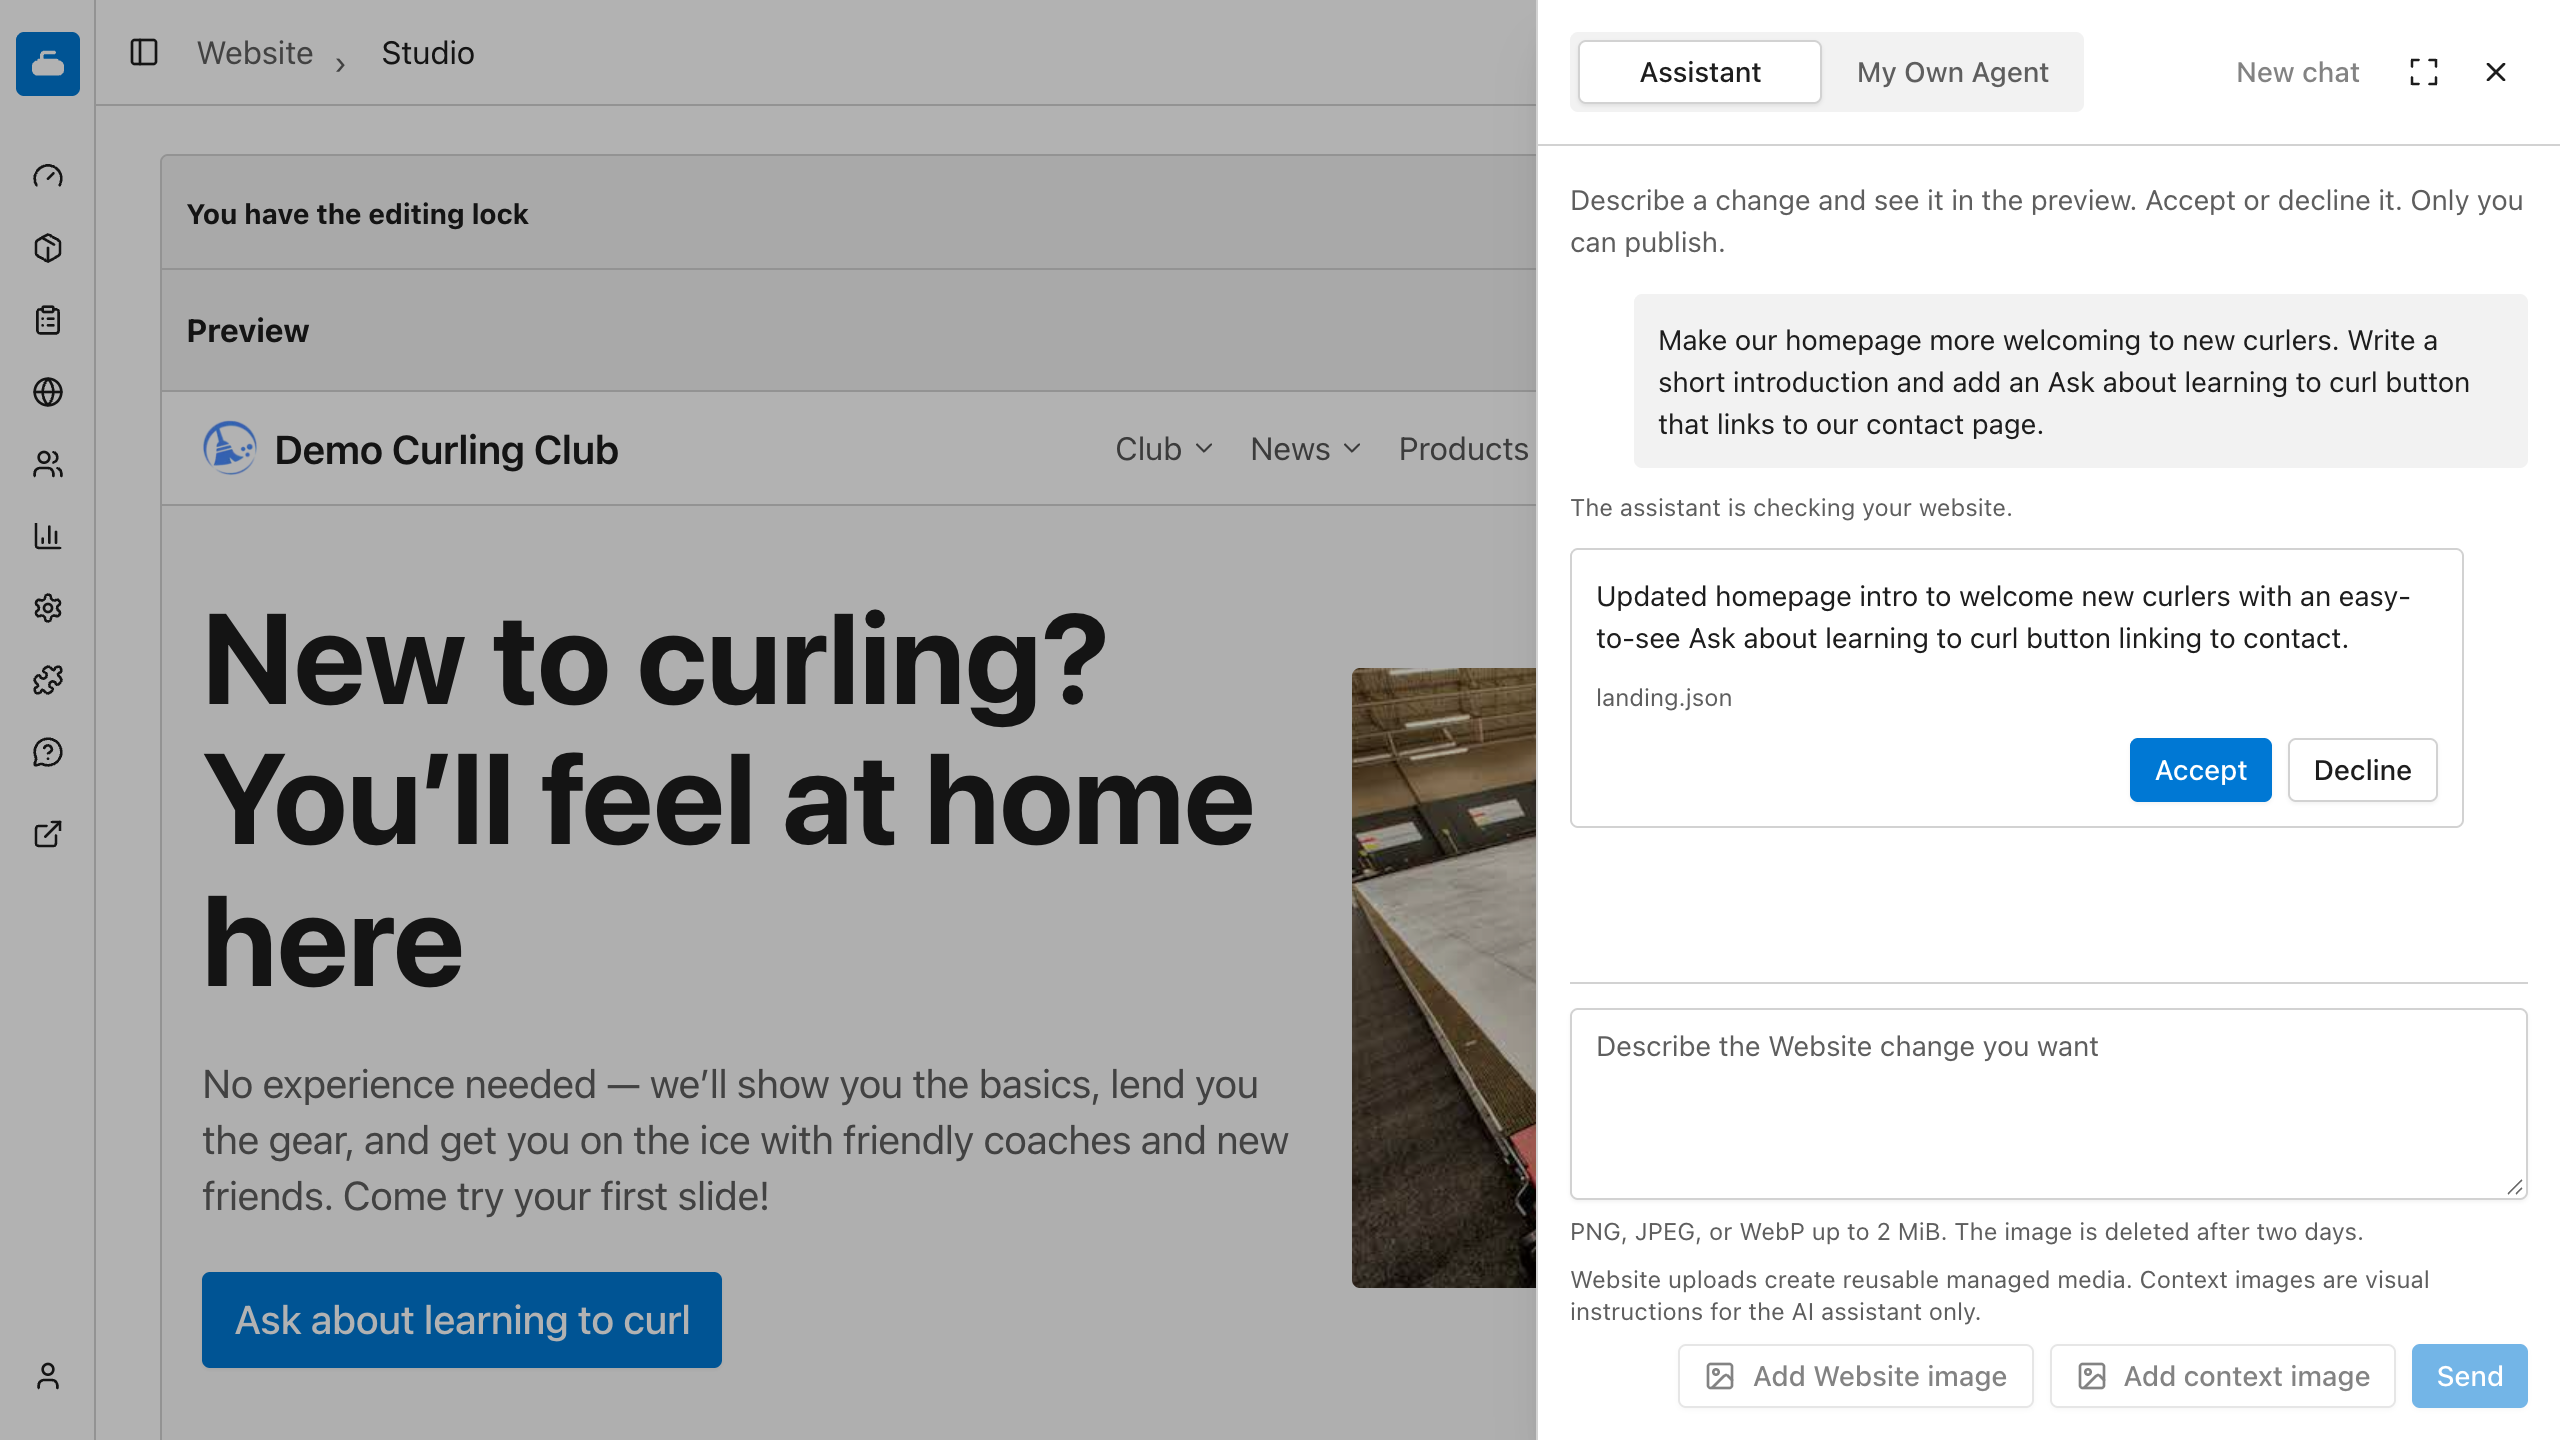
You can ask for another adjustment in the same conversation, such as shortening a heading that doesn't fit well. For a different task, select New chat. It clears the conversation while preserving the website changes you've accepted.
You could then add a banner image to another page, remove a link from the website menu, or change the order of the links. Preview and accept each change, then publish the finished update once. Give the assistant your club's facts and the destination for any new link, then review what it proposes.
Or bring your own AI agent
If you prefer to work with your own agent, choose Bring your own agent from the assistant panel. It explains how to get started and provides instructions to copy. Start the conversation in your own AI assistant, then give it access to the page through a supported browser connection.
Your agent needs access to the signed-in administration page through a supported browser connection. Pasting the club’s address into an ordinary chat does not give it that access.
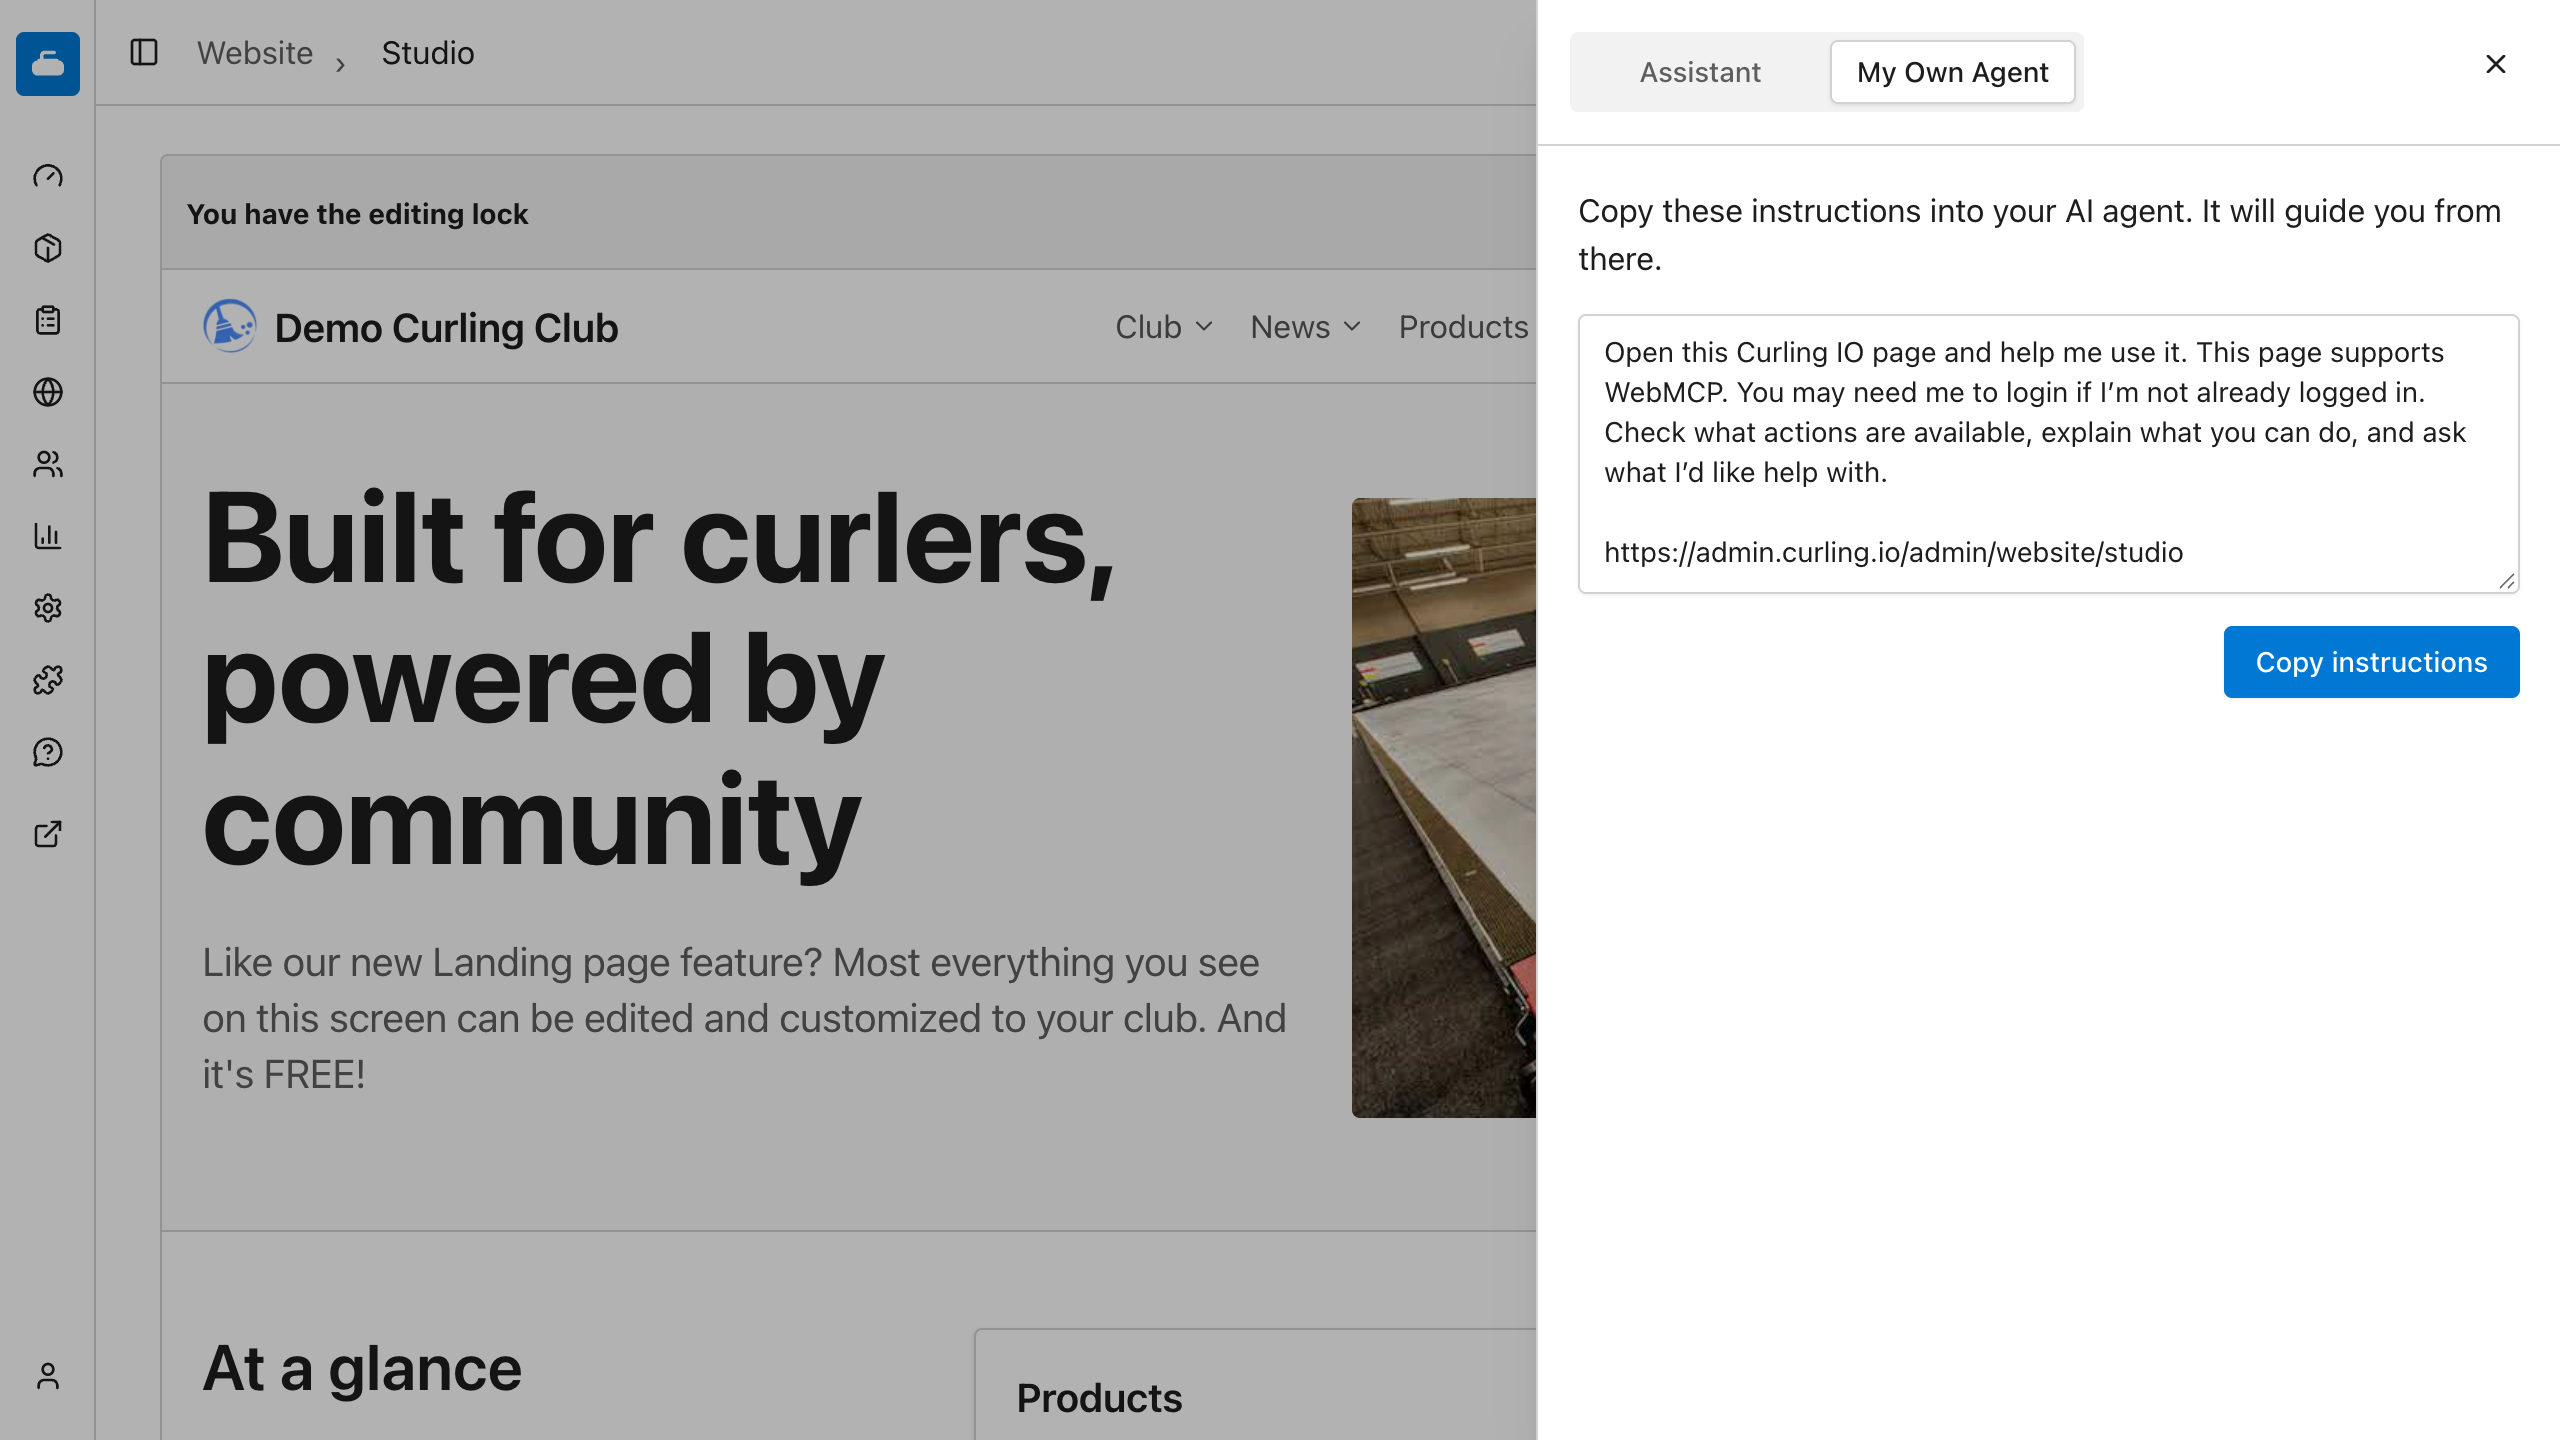
On a page with available agent actions, open the page in your compatible browser agent, choose Copy instructions, and give it the instructions along with the change you want. The available actions depend on the page and your permissions. You still choose and upload files and respond to required confirmations yourself.
We're making Bring your own agent available throughout the administration area. The same approach will let you ask for help on the page where you're working. The actions an agent can perform depend on that page and your permissions; the connection panel shows what's available. Website Studio currently has no actions registered for outside agents, so use its built-in assistant for the editing example shown here.
To return to the built-in assistant, open the panel and select Back.
Choose what belongs on your homepage
Website Studio lets you arrange the sections of your homepage around what visitors need to find. You can ask the assistant to change the wording, reorder sections, or add supported components.
| Section | What you can change or show |
|---|---|
| Welcome section | The opening heading, introduction, image, and up to four buttons. |
| At a glance | Up to four short points about your club. |
| Text | Headings and copy for introductions or other information. |
| Quick links | Up to eight links to useful destinations. |
| Heading and button | A heading, explanation, and button for a next step, such as contacting the club. |
| Testimonials | Up to three quotes and their attributions, supplied by your club. |
| Product types | Links and summaries drawn from your enabled product types. |
| Upcoming events and latest articles | Current public content drawn from your club's records. |
| Sponsors | Eligible sponsors from your club's sponsor records. |
| Rentals and current games | Live club information through the supported website components. |
The live sections save you from maintaining a second copy of club information on the homepage. They use the eligible public records in Curling IO. Changing the website layout does not change the underlying event, product, or sponsor record.
You can also choose what opens as your homepage: the built-in homepage, a published page, or the automatic first product type.
Add widgets to your website
Widgets let you add useful content and services to your website. You can show your club’s social posts, add a newsletter signup, or help visitors find the rink on a map.
| Widget | What you can add |
|---|---|
| A profile, an individual post, or a Reel. | |
| A Facebook Page timeline. | |
| X | A profile timeline. |
| TikTok | A creator profile or an individual video. |
| YouTube | A video or a playlist. |
| Calendars | A Google Calendar or Timely calendar. |
| Maps | An embedded Google map. |
| Documents | Supported Google and OneDrive document embeds. |
| Weather | An Environment Canada weather embed. |
| Newsletter signup | A Mailchimp or EmailOctopus signup form. |
| Gift cards | A Gift Up checkout. |
| Photo slideshow | Club photos with optional captions and links. |
| Tabs and expandable sections | Information grouped into tabs, or sections visitors can open to read more. |
| Club information | Rental availability, current games, sponsors, contact information, and public notices. |
For social profiles, Studio can suggest the accounts already saved in your club settings. You can change the account when adding the widget. Individual posts, videos, and playlists use the specific link you provide.
For example, ask the assistant to “Add our Instagram profile below the welcome message” or “Add a newsletter signup near the bottom of the homepage.” Include the account, link, or signup details it needs.
Need a widget that isn’t listed? You can request new widgets through the Feedback section.
Customize the rest of the site
Studio also controls the website's theme and navigation. You can organize links so visitors can find your leagues, pages, calendar, and other public content. Supported pages have space for additional components above and below their main content, including banners and introductory text.
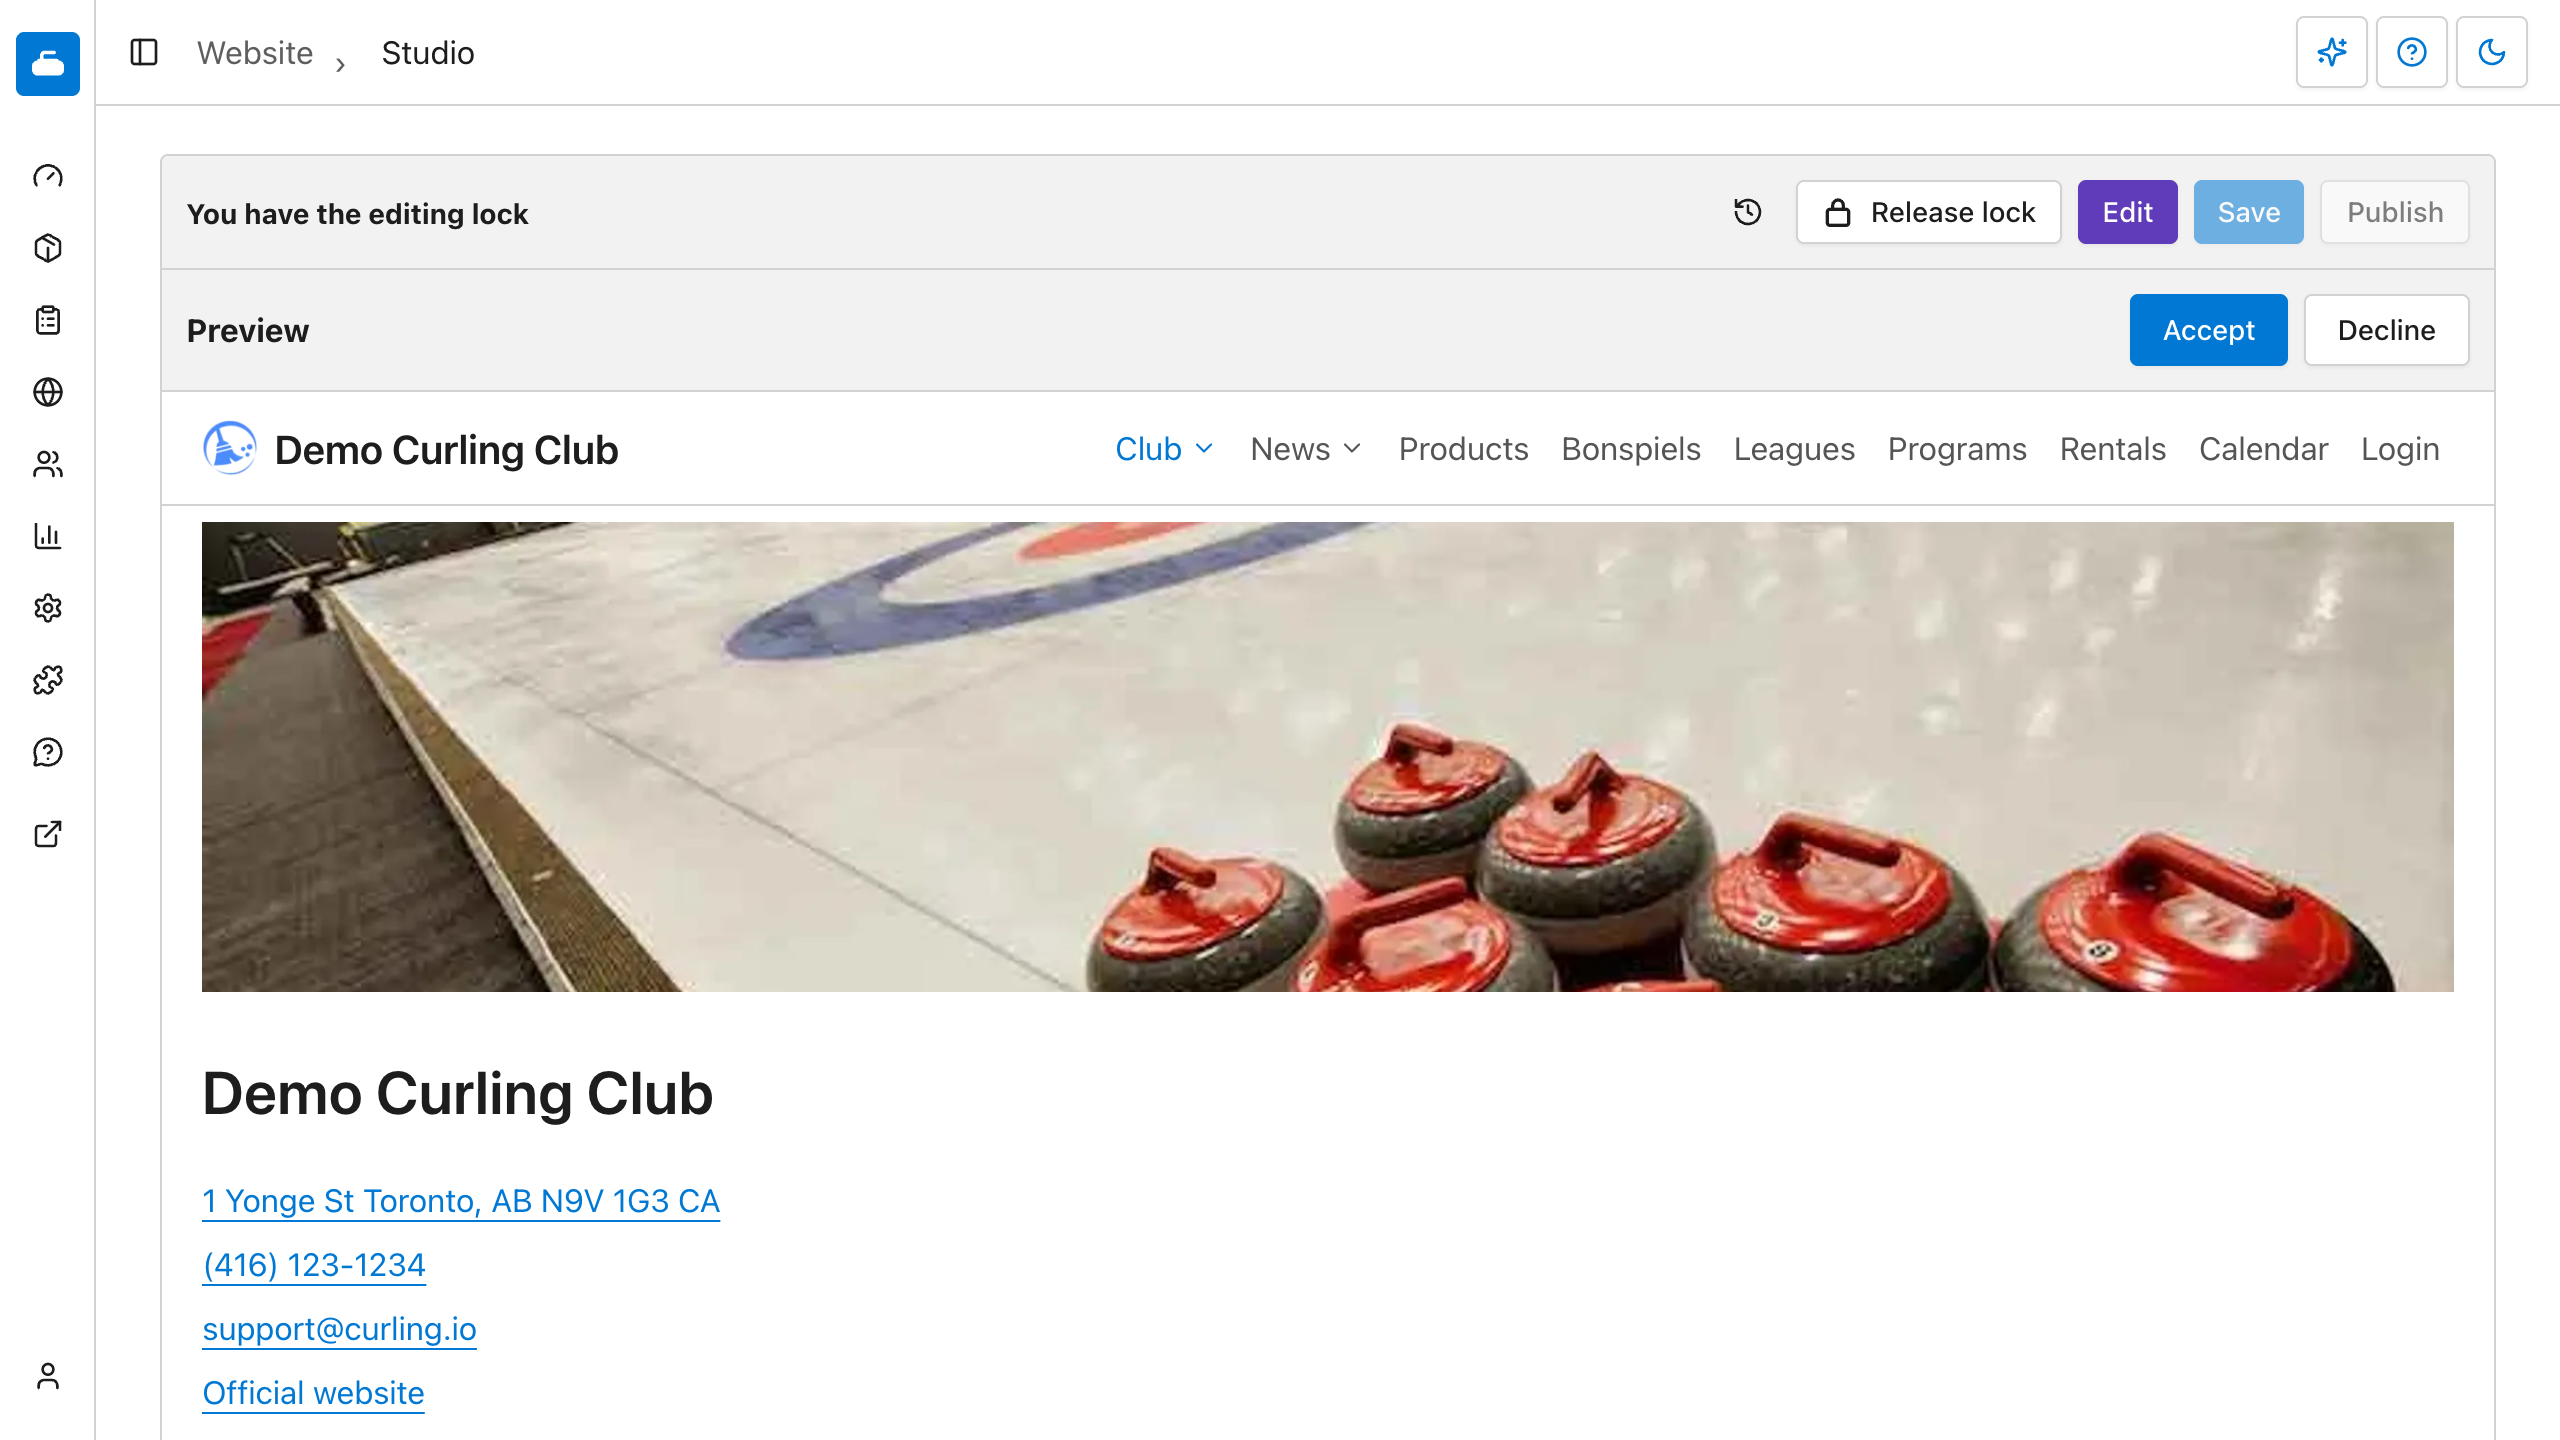
The customization has boundaries. Studio uses supported components and settings. It does not let the assistant write arbitrary scripts or replace the registration and payment workflows. Ask for a concrete change, such as adding an introduction above a list of programs, rather than assuming it can build any imaginable page.
If your website uses English and French, check both languages before publishing. A change that reads well in one language still needs a review in the other.
Preview changes without publishing them
You can try a different heading, rearrange sections, or work through several AI suggestions without changing what visitors see. Studio lets you preview your saved changes while the public website continues to show its last published version.
Select Save to create a Checkpoint, a saved draft you can return to. Accepting an assistant’s change also creates a checkpoint. Check the result in Studio's preview, make another adjustment, and save again if you need to. You don't have to publish each change as you go.
For example, you could rewrite your welcome message and add a registration link, then check how they look together. If the wording needs another pass, keep editing the draft. Your visitors still see the existing website.
Publish when you're ready
Once you've reviewed the draft, select Publish. This makes the saved design public and gives it a Version number in the history.
You might save several checkpoints while preparing an update, then publish one finished version. The history distinguishes those working drafts from the versions you released, making it easier to find a previous published design when you want to restore it.
Studio also shows who holds the editing lock. This keeps two staff members from editing the website at the same time. Release your lock when you've finished so another person can take over.
Restore an earlier design
Open History of changes to find previous checkpoints. Published ones also show their version numbers. Compare to latest lets you inspect the technical configuration differences between an older checkpoint and the current one.
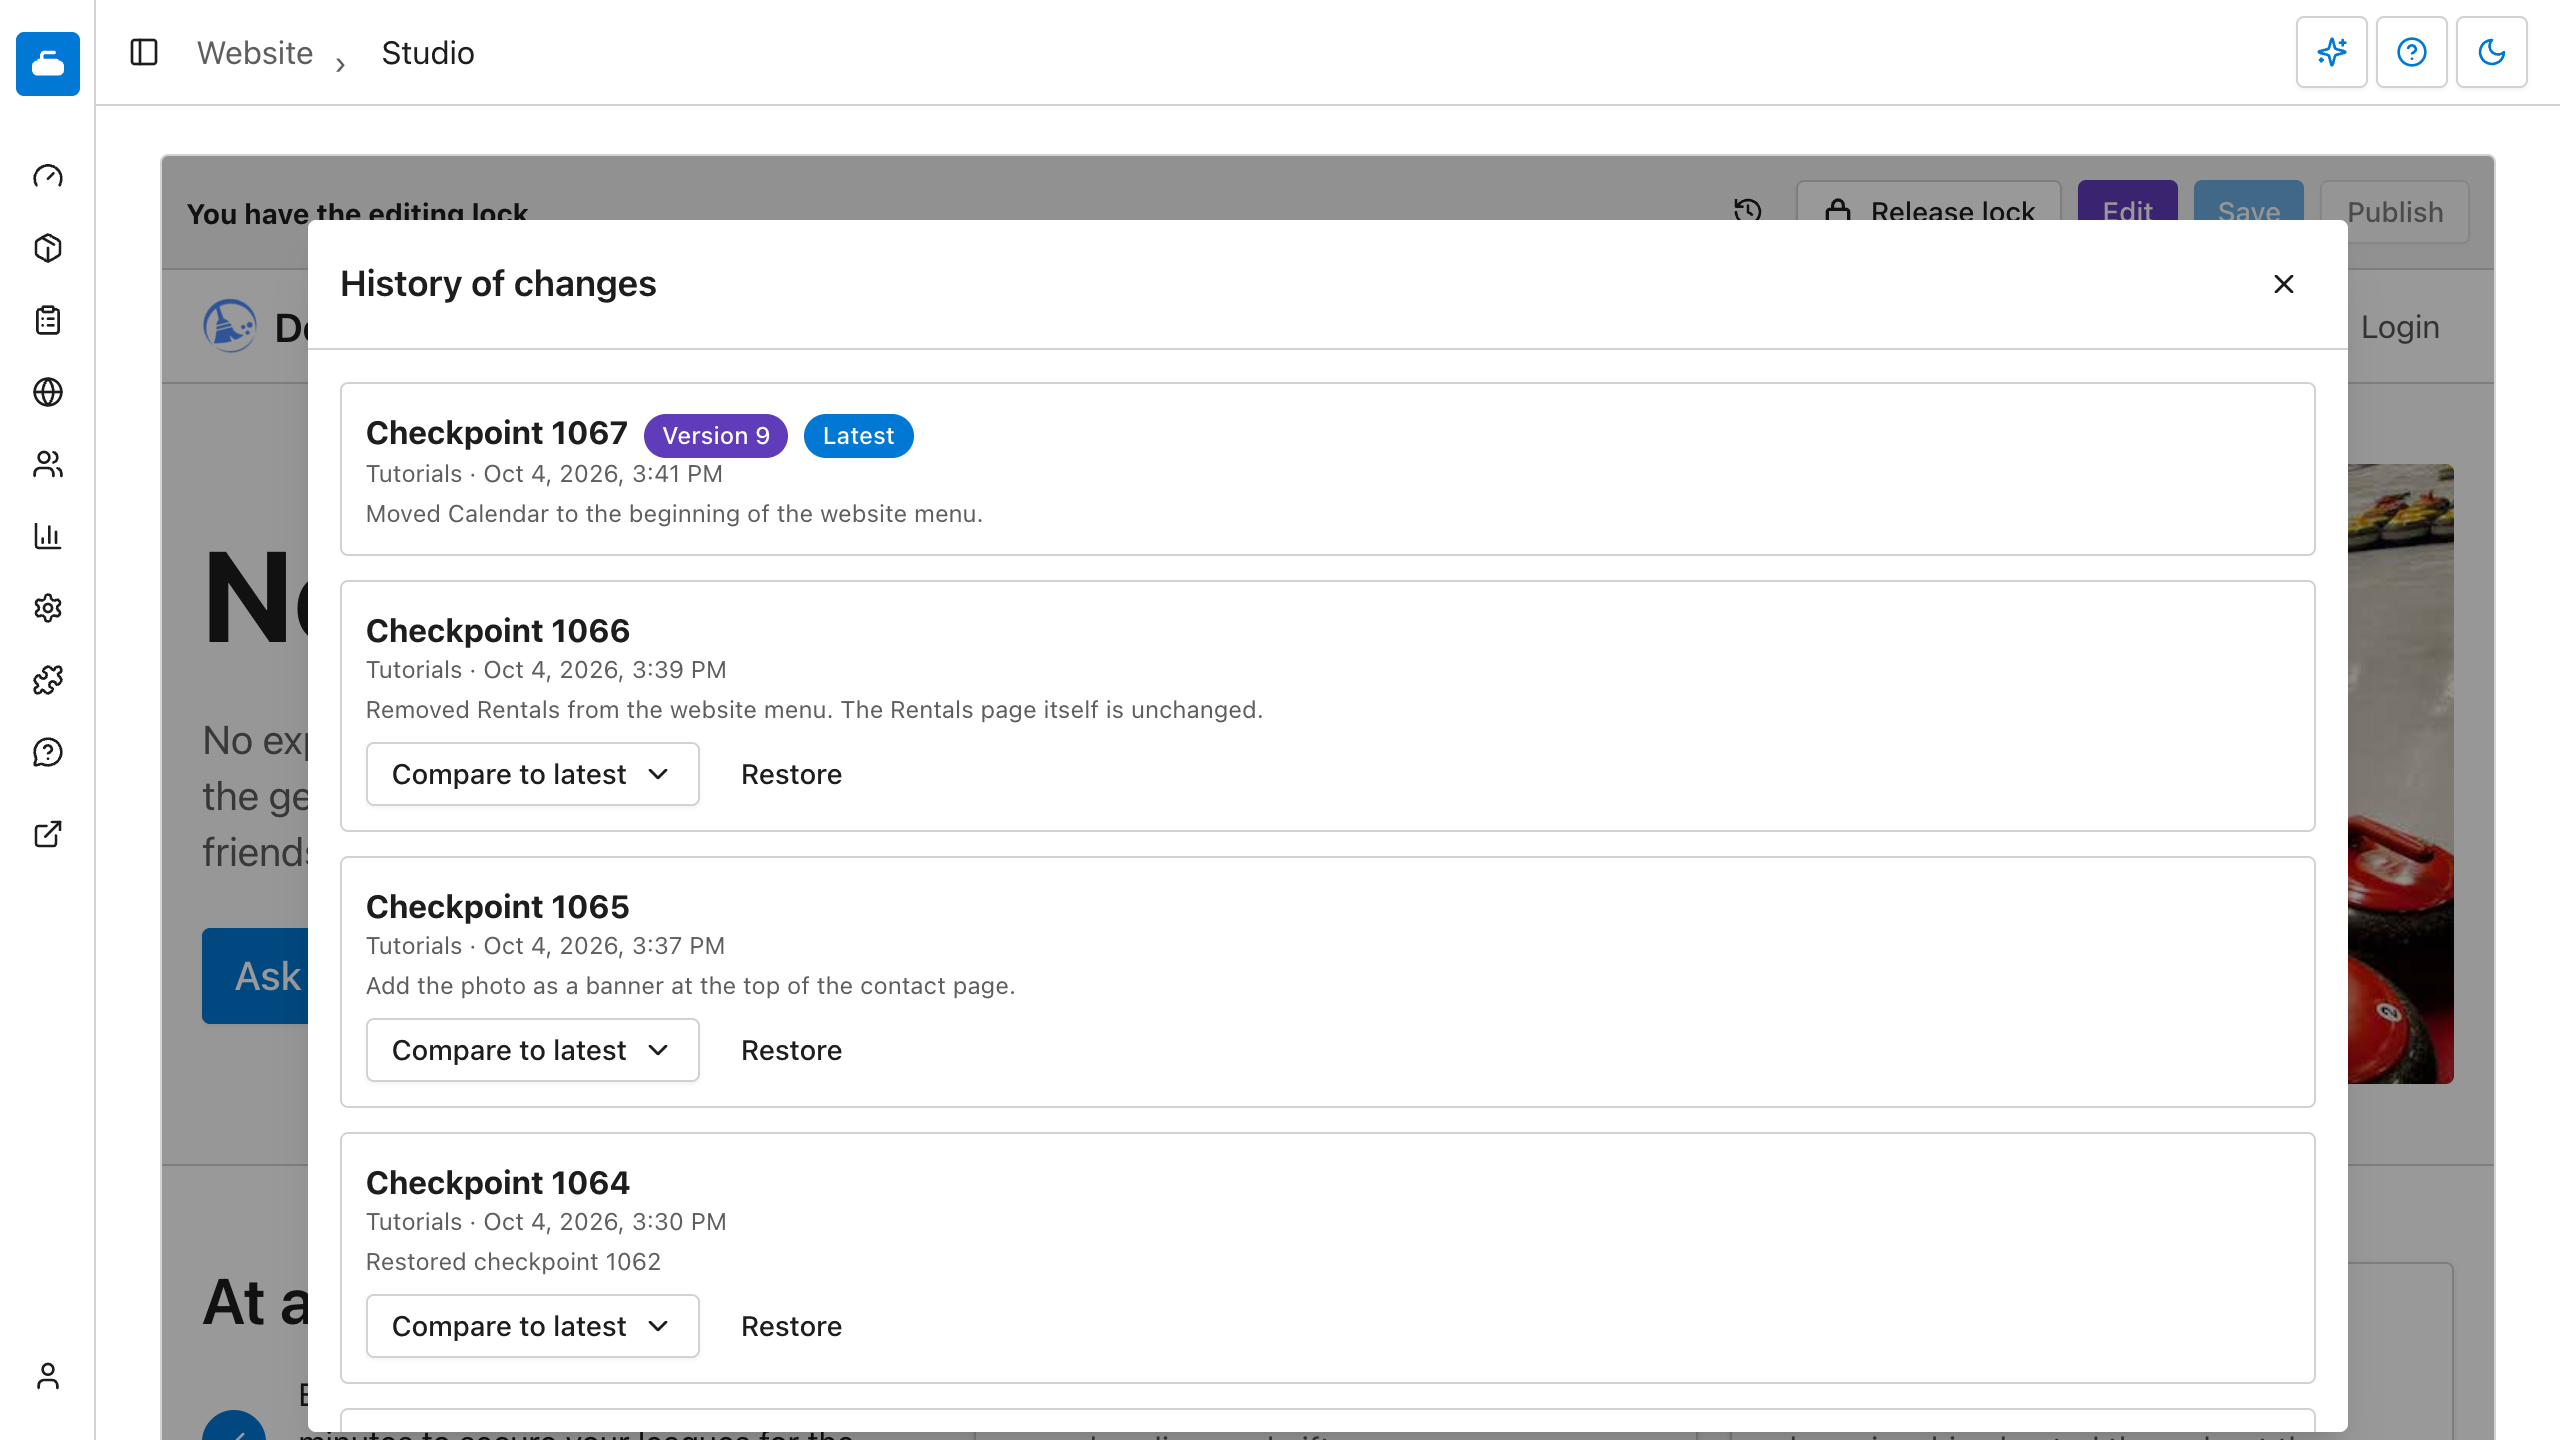
To return to an earlier design:
- Select Restore beside the checkpoint you want.
- Review the restored website design in the preview.
- Select Publish to make it the public version.
Restore creates a new checkpoint using the older design, so the intervening history remains available. Restoring alone does not change the public site.
This is website history, not a backup of every club record. Restoring a layout does not roll back registrations, payments, or edits to the articles and products it displays. Live sections continue to use current club data.
For a first change, try improving one introduction or adding one useful link. Review the proposal and preview, then publish when you're happy with it.